
How To Design A Waterproof Mosquito Light
There’s something almost magical about a mosquito light—a beacon in the night that promises to shield us from the irksome buzz and bites of mosquitoes.
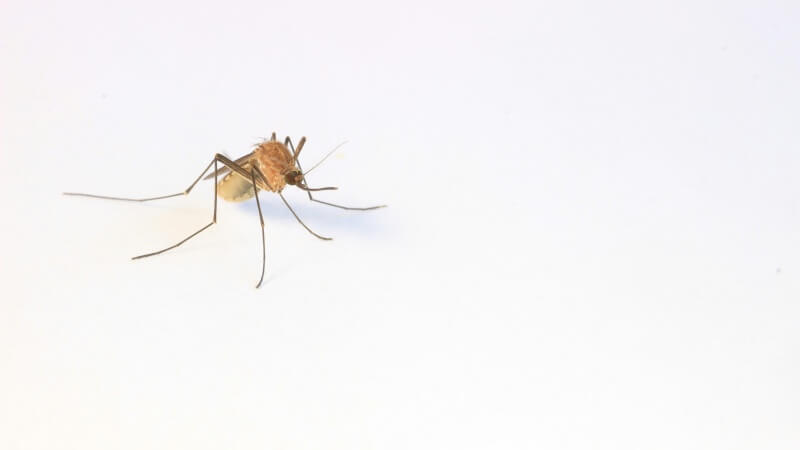
Within the first few buzz-free nights, the significance of a mosquito light in maintaining your peace becomes crystal clear.
Suddenly, when it stops working, the silence is replaced by the all-too-familiar buzz of mosquitoes plotting their next attack.
Repairing your mosquito light might not have been on your DIY list, but it’s about to become your next victorious project.
This guide will navigate you through the troubleshooting and repair process with humor and practical advice, ensuring your nights are once again serene and mosquito-free.
Before diving into the repair, identifying what’s wrong with your mosquito light is crucial. Let’s break down the common issues and their root causes.

A mosquito light that won’t power on is as useful as a screen door on a submarine. The problem often lies in the basics—power supply issues. Before you start dismantling anything, perform these simple checks:
These preliminary steps can save you a lot of time and ensure you don’t fix what isn’t broken.
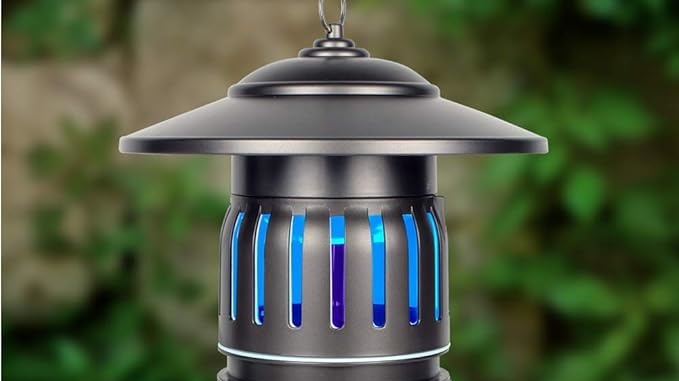
The bulb of your mosquito light acts like a siren’s song to mosquitoes, luring them to their doom. If the light isn’t working, your night-time guardians won’t be attracted much. Changing a bulb is usually straightforward, but ensuring you have the correct replacement is key:
Not only will replacing the bulb restore your mosquito light’s functionality, but it can also improve its efficiency, making your evenings peaceful once more.
The fan in your mosquito light isn’t there to keep you cool; it’s designed to suck in those pesky mosquitoes. When the fan stops working, your device loses its vacuum effect, letting mosquitoes off the hook. A fan failure can stem from several issues:
Regular maintenance of the fan can prevent future failures, ensuring your mosquito light continues to protect your evenings from unwelcome guests.
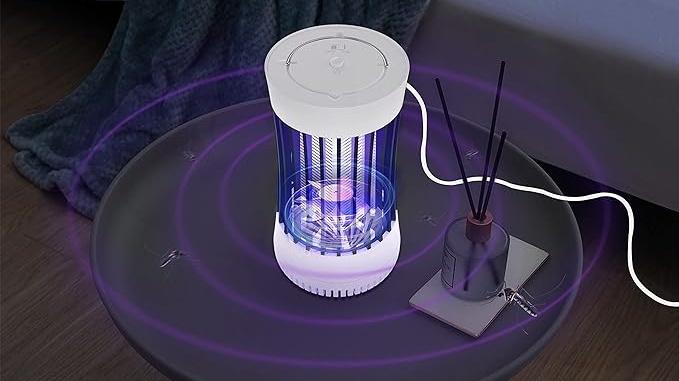
The electrified grid in your mosquito light is where the magic happens—zapping mosquitoes out of your relaxation time. A non-functional grid is like having a door without a lock; it simply won’t keep the mosquitoes out. Here’s how to troubleshoot and fix grid issues:
A well-maintained and functional grid is essential for a mosquito light to perform its duty, keeping your evenings peaceful and mosquito-free.
Armed with the right tools and materials, repairing your mosquito light can be a smooth process. Here’s what you’ll need to tackle most issues:
Gathering these items before starting your repair will help ensure a successful and efficient process, minimizing downtime and frustration.
With your tools ready and a clear understanding of the problem, it’s time to get to work. Follow these steps to bring your mosquito light back to life:
Before embarking on any electrical repair, ensuring your safety and that of those around you is paramount. Disconnecting your mosquito light from its power source is the first and most crucial step.
Wear insulated gloves to prevent any accidental shocks, and choose a well-lit, dry area as your workspace. A clear, organized space will not only keep you safe but also make the repair process smoother and more efficient.
Like a detective piecing together clues, diagnosing the issue with your mosquito light requires observation and a bit of know-how.
Listen to unusual sounds that might indicate a fan problem, such as rattling or humming. Check if the light flickers or fails to turn on, pointing to a bulb issue.
Observe the grid for sparks or a lack of activity when the mosquito light is powered on. Identifying the specific problem will direct your repair efforts, saving you time and ensuring a successful fix.
With the problem identified, it’s time to roll up your sleeves and address the issue. Whether it’s replacing a worn-out bulb, cleaning a clogged fan, securing loose wiring, or fixing a damaged grid, approach each task with care.
Follow the manufacturer’s guidelines where available, and don’t hesitate to consult online forums or guides for additional insights.
Patience and precision are your allies here, ensuring that each step is performed thoroughly and safely.
After your diligent work, it’s time to see if your efforts have paid off. Reconnecting and testing your mosquito light will reveal whether your repair has been successful.
It’s a moment of truth that can bring immense satisfaction and relief, knowing you’ve outsmarted those cunning mosquitoes once again.
Gently plug in your mosquito light and turn it on. This initial test is crucial, as it quickly indicates whether the basic functions—light and fan—are operational. Watch for the familiar glow of the bulb and listen for the soft whir of the fan.
No unusual noises should be present, and the device should operate smoothly, just like it used to. This step not only confirms the success of your repair but also reinstates your device’s role as a vigilant protector against mosquitoes.
A fully functional mosquito light is more than just a working bulb and fan—it’s an effective defense against the relentless mosquito onslaught.
Place your repaired mosquito light in a known mosquito-prone area and watch as it resumes its duty, attracting and eliminating these pesky intruders.
The true test of your repair efforts lies in the device’s ability to maintain a comfortable and mosquito-free environment, just as it was designed to do.
Seeing the mosquito light back in action, protecting your peace, is the ultimate reward for your hard work and perseverance.
Through patience, determination, and a bit of elbow grease, you’ve successfully repaired your mosquito light, reclaiming your peaceful evenings from the clutches of pesky mosquitoes.
This guide has not only equipped you with the knowledge to diagnose and fix common issues but also emphasized the importance of regular maintenance to prevent future breakdowns.
Remember, a well-cared-for mosquito light is a steadfast ally in your ongoing battle against mosquitoes. Here’s to many more serene, bite-free nights, all thanks to your newly repaired mosquito light.

There’s something almost magical about a mosquito light—a beacon in the night that promises to shield us from the irksome buzz and bites of mosquitoes.

Within the first few moments of considering a mosquito light, the idea transforms from a mere concept into a beacon of hope against the nightly
The moment you switch on a mosquito light, you declare war on those pesky insects. But what if I told you that you could turbocharge
Imagine this scenario: as the hues of twilight blend into the evening sky, your mosquito light buzzes to life, standing guard against the night’s swarm

There’s something almost magical about a mosquito light—a beacon in the night that promises to shield us from the irksome buzz and bites of mosquitoes.
Within the first few moments of considering a mosquito light, the idea transforms from a mere concept into a beacon of hope against the nightly

The moment you switch on a mosquito light, you declare war on those pesky insects. But what if I told you that you could turbocharge
Imagine this scenario: as the hues of twilight blend into the evening sky, your mosquito light buzzes to life, standing guard against the night’s swarm