
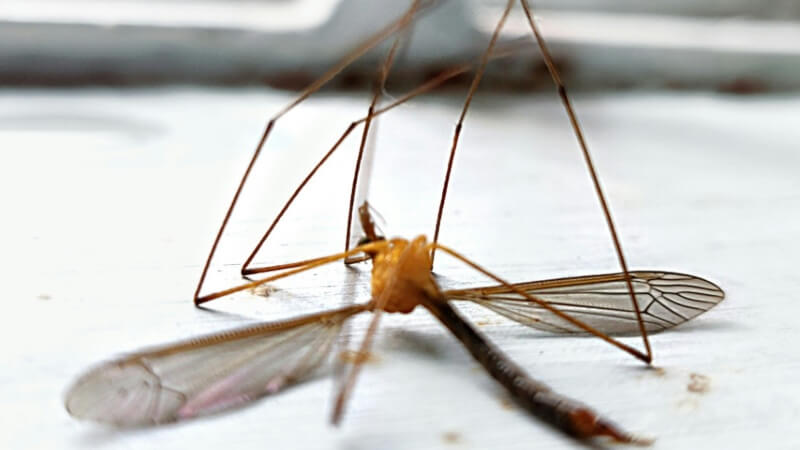
How To Design A Waterproof Mosquito Light
There’s something almost magical about a mosquito light—a beacon in the night that promises to shield us from the irksome buzz and bites of mosquitoes.
In the realm of bug zappers and repellents, the mosquito light stands tall as a beacon of hope against those bloodthirsty pests.
However, even the mightiest of lights can dim over time, obscured by layers of dust and debris. Fear not, dear reader, for we’re here to guide you through the intricate process of rejuvenating your beloved mosquito light to its former glory.
Mosquito lights are essential fixtures in many homes, providing relief from the relentless onslaught of mosquitoes and other flying insects.
However, to ensure optimal performance, regular maintenance is key. In this comprehensive guide, we’ll walk you through the step-by-step process of cleaning your mosquito light, from gathering the necessary tools to reassembling the components.
Before embarking on your cleaning odyssey, it’s essential to gather your cleaning arsenal.
You’ll need a soft-bristled brush to whisk away stubborn dirt, a damp cloth for wiping down surfaces, and a mild detergent or cleaning solution to tackle tougher stains.

Don’t forget to don your gloves and mask for added protection against any lurking allergens or irritants!
Ensuring you have all the necessary tools and equipment beforehand will make the cleaning process smoother and more efficient. Take inventory of what you have and make any necessary purchases before starting.
Now that you’re armed and ready, it’s time to face the beast head-on. Begin by disconnecting the power source to your mosquito light to prevent any shocking surprises. With delicate precision, carefully dismantle the various components, starting with the lampshade and working your way down to the base.
Disassembling your mosquito light allows for thorough cleaning of each component, ensuring no area is overlooked. Take your time and handle each part with care to avoid damaging any fragile elements.
With the components laid bare, it’s time to banish the accumulated gunk and grime that have taken residence on your mosquito light. Armed with your soft brush, begin by gently brushing away surface dust and debris, taking care not to scratch or damage the lamp’s delicate surfaces.
For particularly stubborn stains or residue, you may need to apply a bit more elbow grease or use a specialized cleaning solution. Be sure to test any new cleaning products on a small, inconspicuous area first to ensure they won’t cause damage.

Now it’s time to turn your attention to the heart of the beast – the tubes. Fill a basin with warm, soapy water and submerge the tubes to loosen any dirt or grime that may have accumulated over time.
With your soft brush in hand, gently scrub the tubes to remove any stubborn stains or residue, taking care not to damage the delicate components.
Stubborn dirt or debris may require additional soaking or the use of a specialized cleaning solution. Avoid using abrasive materials or harsh chemicals, as these can damage the delicate surfaces of the tubes.
With the lampshade and tubes getting a thorough cleaning, don’t forget to give the lamp base and other components some TLC as well. Dampen a cloth with water or a cleaning solution and wipe down these areas to remove any dirt or grime that may have accumulated over time.
Inspecting the electrical components of your mosquito light is essential for ensuring its continued safe operation. Look for any frayed wires, loose connections, or signs of overheating, and address any issues promptly.
With all the components clean and dry, it’s time to reassemble your mosquito light. Carefully place each component back in its rightful place, ensuring that everything is securely fastened.
Once everything is back where it belongs, plug in the power source and revel in the brilliance of your freshly cleaned mosquito light!

Before you embark on your cleaning journey, it’s essential to heed a few cautionary notes. Always ensure that the power source is disconnected before beginning any cleaning or maintenance tasks to avoid any potential electrical mishaps.
Additionally, avoid using harsh chemicals or abrasive materials that could damage the delicate components of the lamp.
To ensure that your mosquito light remains in optimal condition, it’s important to make cleaning and maintenance a regular part of your routine. Set aside some time every few weeks to give your lamp a thorough once-over, keeping an eye out for any signs of wear and tear or malfunctioning components.
With our comprehensive guide at your disposal, cleaning your mosquito light is no longer a daunting task.
From disassembly to tube TLC, we’ve covered all the bases to ensure that your mosquito light remains a beacon of hope in the battle against those bloodthirsty pests. Here’s to many more bug-free nights with your trusty mosquito light!
Q: Can I use any cleaning solution to clean my mosquito light?
A: While it’s tempting to reach for the strongest cleaner in your arsenal, it’s essential to use caution when selecting a cleaning solution for your mosquito light. Harsh chemicals can damage the delicate components of the lamp, leading to reduced performance or even permanent damage. Opt for mild, gentle cleaning solutions to ensure the longevity of your mosquito light.
Q: How often should I clean my mosquito light?
A: The frequency of cleaning your mosquito light depends on various factors, including usage and environment. As a general rule of thumb, aim to clean your mosquito light every few weeks to prevent the buildup of dust and debris. However, if you notice a significant decrease in brightness or performance, it may be time for a more thorough cleaning.
Q: Is it safe to clean the electrical components of my mosquito light?
A: While it’s essential to maintain the cleanliness of your mosquito light’s electrical components, it’s equally crucial to do so safely. Before cleaning any electrical parts, always ensure that the power source is disconnected to avoid the risk of electrical shock. Additionally, use caution when handling delicate wires or connections to prevent damage.
Q: Can I use compressed air to clean my mosquito light?
A: While compressed air can be effective in removing dust and debris from hard-to-reach areas, it’s essential to use caution when using this method to clean your mosquito light. High-pressure air can dislodge dust particles, causing them to scatter and potentially contaminate other parts of the lamp. If using compressed air, do so sparingly and with care.
Q: What should I do if I encounter a stubborn stain or residue during cleaning?
A: Stubborn stains or residue can be a challenge to remove, but fear not! Before reaching for harsh chemicals or abrasive materials, try soaking the affected area in warm, soapy water to loosen the debris. If the stain persists, consider using a specialized cleaning solution designed for the specific material of your mosquito light. Always test any new cleaning products on a small, inconspicuous area first to ensure they won’t cause damage.

There’s something almost magical about a mosquito light—a beacon in the night that promises to shield us from the irksome buzz and bites of mosquitoes.

Within the first few moments of considering a mosquito light, the idea transforms from a mere concept into a beacon of hope against the nightly
The moment you switch on a mosquito light, you declare war on those pesky insects. But what if I told you that you could turbocharge
Imagine this scenario: as the hues of twilight blend into the evening sky, your mosquito light buzzes to life, standing guard against the night’s swarm

There’s something almost magical about a mosquito light—a beacon in the night that promises to shield us from the irksome buzz and bites of mosquitoes.
Within the first few moments of considering a mosquito light, the idea transforms from a mere concept into a beacon of hope against the nightly

The moment you switch on a mosquito light, you declare war on those pesky insects. But what if I told you that you could turbocharge
Imagine this scenario: as the hues of twilight blend into the evening sky, your mosquito light buzzes to life, standing guard against the night’s swarm