
How To Design A Waterproof Mosquito Light
There’s something almost magical about a mosquito light—a beacon in the night that promises to shield us from the irksome buzz and bites of mosquitoes.
Are you tired of constantly swatting away mosquitoes and enduring sleepless nights? Fear not! In this comprehensive guide, we’ll walk you through the process of creating your very own mosquito killer light lamp.
With a few simple materials and a bit of creativity, you can effectively rid your space of these pesky insects while adding a unique touch to your decor.
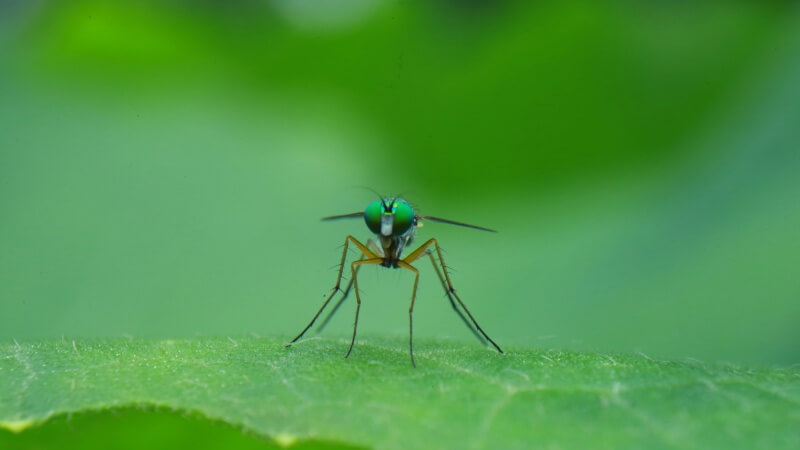
Mosquitoes are not only annoying but can also pose health risks, transmitting diseases such as malaria, dengue fever, and Zika virus.
While commercial mosquito repellents and bug zappers are readily available, they often contain harmful chemicals or emit irritating odors.
A DIY mosquito killer light lamp offers a natural and eco-friendly alternative that is both effective and safe for indoor and outdoor use.
To get started on your DIY mosquito killer light lamp, gather the necessary materials. You’ll need wire mesh, a plastic container, LED light bulbs, insulated wires, connectors, paint, and decorative elements.
Ensure you have all the items on hand before beginning the project to avoid interruptions.
Begin by shaping the wire mesh into a cylindrical form, ensuring it’s large enough to accommodate the light bulbs and provide sufficient airflow for trapping mosquitoes. Use sturdy pliers to bend and secure the edges of the mesh together, creating a durable frame for your lamp.
Once the frame is complete, cut an opening in the plastic container lid that matches the diameter of the wire mesh. This will serve as the top of your lamp and allow mosquitoes to enter while preventing them from escaping.
To further enhance the effectiveness of the mosquito trap, consider adding a funnel-shaped entrance to the lamp. This will direct mosquitoes towards the light source and increase the likelihood of them being trapped inside.
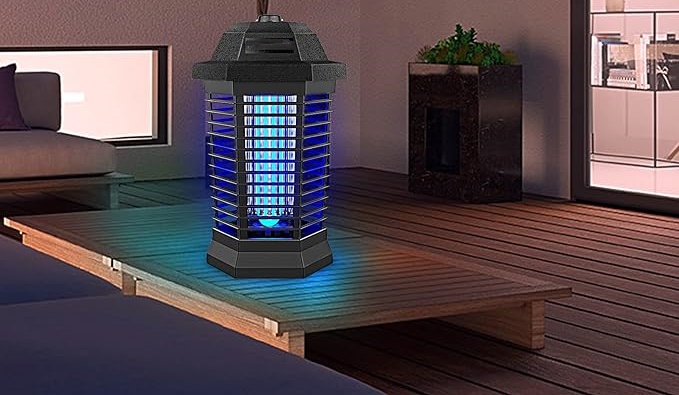
Choose LED light bulbs with a wavelength that attracts mosquitoes effectively, such as UV or blue light. These bulbs are energy-efficient and emit light that appeals to insects while consuming minimal electricity. Make sure the bulbs fit securely within the mesh enclosure and won’t pose a fire hazard.
Additionally, consider adding a reflector behind the light bulbs to amplify their brightness and attract more mosquitoes. This can be made from reflective material such as aluminum foil or sheet metal and should be positioned to direct light outward from the lamp.
To prevent interference from external light sources, consider adding a light shield or cover to the lamp. This will help focus the light emitted by the bulbs and prevent it from being diluted by ambient light.
Now, let’s tackle the electrical aspect of your DIY project. Design a simple circuit that connects the light source to a power source, ensuring safety and reliability.
Sketch out a circuit diagram illustrating how the components will be connected. Identify the positive and negative terminals of the light bulbs and ensure they align with the power source. Include safety features such as fuses or circuit breakers to protect against electrical hazards.
Once you have a clear diagram, gather the necessary wires and connectors to assemble the circuit. Use insulated wires to prevent electrical shorts and ensure a stable connection between components.
After completing the wiring, test the circuit to ensure it functions correctly. Connect the lamp to a power source and verify that the light bulbs illuminate without flickering or overheating. If any issues arise, troubleshoot the circuit to identify and rectify the problem before proceeding.
Carefully strip the insulation from the wire ends and connect them to the corresponding terminals of the light bulbs and power source. Use soldering or crimping techniques to create secure connections that won’t come loose over time. Double-check your wiring to ensure everything is properly connected before proceeding.
After completing the wiring, test the circuit to ensure it functions correctly. Connect the lamp to a power source and verify that the light bulbs illuminate without flickering or overheating. If any issues arise, troubleshoot the circuit to identify and rectify the problem before proceeding.

Enhance the aesthetic appeal of your mosquito killer light lamp by adding decorative elements that complement your home decor.
Apply a coat of weather-resistant paint to the mesh enclosure, choosing colors that match your existing decor scheme. Consider using spray paint for even coverage and quick drying time. Allow the paint to dry completely before moving on to the next step.
Once the paint has dried, you can further customize the lamp by adding decorative accents or patterns. Use stencils or masking tape to create geometric designs or intricate motifs that will enhance the lamp’s visual appeal.
To protect the paint from chipping or fading over time, apply a clear coat of sealant to the exterior of the lamp. This will help preserve the finish and ensure your DIY creation looks great for years to come.
Create custom stencils using sturdy cardboard or plastic sheets, then use them to add intricate patterns or designs to the lamp’s surface. Experiment with different stencil shapes and paint colors to create a unique and visually appealing finish.
Allow the paint to dry completely before removing the stencils to prevent smudging or bleeding. Once the paint has cured, apply a clear coat of sealant to protect the design and prevent it from fading or peeling over time.
Before deploying your DIY mosquito killer light lamp, conduct thorough testing to ensure its effectiveness and safety.
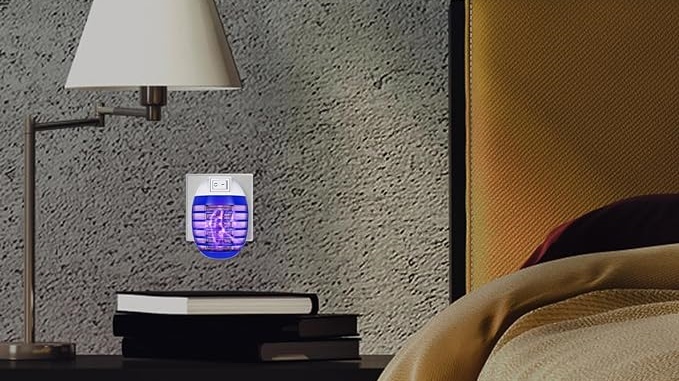
Place the lamp in areas where mosquitoes are known to gather and observe its performance over several nights. Note any areas where mosquitoes are still present or where the lamp may need adjustments.
If the lamp fails to attract mosquitoes effectively, consider adjusting the positioning of the light bulbs or adding additional light sources to increase its attractiveness. You can also experiment with different wavelengths of light to determine which is most effective at luring mosquitoes.
To assess the lamp’s effectiveness, conduct periodic inspections to monitor the number of mosquitoes trapped inside. Empty the trap regularly to prevent the buildup of dead insects and ensure optimal performance.
Regularly inspect the lamp for signs of wear or damage, especially in the electrical components. Avoid exposing the lamp to moisture or extreme temperatures that could compromise its functionality.
Follow standard safety protocols when handling electrical equipment to prevent accidents or injuries.
Additionally, keep the lamp out of reach of children and pets to prevent accidental contact with the electrical components.
If you notice any signs of malfunction or damage, discontinue use of the lamp until it can be repaired or replaced.
In conclusion, crafting your own mosquito killer light lamp is a fun and practical DIY project that can help you reclaim your space from pesky insects.
By following the steps outlined in this guide and exercising caution during the construction process, you can create a custom solution that effectively eliminates mosquitoes while adding a stylish accent to your home decor.
So roll up your sleeves, gather your materials, and let’s get started on building your very own mosquito killer light lamp today!
Can I use alternative materials for constructing the mosquito killer light lamp?
Yes, while the guide suggests specific materials like wire mesh and a plastic container, you can certainly explore alternative options based on availability and personal preference. For instance, instead of wire mesh, you might consider using a metal grate or perforated metal sheet for the lamp’s enclosure. Similarly, you could repurpose an old glass jar or metal container as the base instead of a plastic container. Just ensure that whatever materials you choose are durable, heat-resistant, and conducive to trapping mosquitoes effectively.
What type of insects can the DIY mosquito killer light lamp attract?
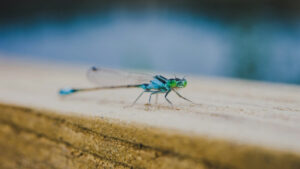
While the focus is primarily on mosquitoes, DIY mosquito killer light lamps can also attract other flying insects, such as flies, moths, and gnats. The light emitted by the lamp, especially if it’s in the UV or blue spectrum, can be enticing to a variety of insects. However, the effectiveness of trapping these insects may vary depending on factors such as the lamp’s design, placement, and surrounding environmental conditions.
How can I maintain and clean my DIY mosquito killer light lamp?
Proper maintenance and cleaning are essential to ensure the longevity and effectiveness of your mosquito killer light lamp. Regularly inspect the lamp for any signs of damage, wear, or debris accumulation. Clean the mesh enclosure and light bulbs periodically to remove dust, dirt, and dead insects. You can use a soft brush or cloth to gently wipe away debris, taking care not to damage the wiring or electrical components. Additionally, check the circuit connections and wiring for any loose or corroded connections, and address any issues promptly to prevent malfunctions.
Are DIY mosquito killer light lamps suitable for use in all climates?
While DIY mosquito killer light lamps can be effective in various climates, certain environmental factors may affect their performance. For example, in humid or rainy conditions, moisture buildup on the lamp’s surfaces could reduce its effectiveness or pose a safety hazard. Additionally, extreme temperatures, such as excessive heat or cold, may impact the performance of the electrical components. It’s essential to consider these factors and take appropriate precautions, such as providing adequate shelter or insulation for the lamp, to ensure optimal performance in diverse climates.
Can I modify the design of my DIY mosquito killer light lamp to make it more environmentally friendly?
Yes, there are several ways to make your DIY mosquito killer light lamp more environmentally friendly. For instance, you could opt for energy-efficient LED light bulbs, which consume less electricity and have a longer lifespan compared to traditional incandescent bulbs. Additionally, consider using recycled or upcycled materials for the lamp’s construction to minimize waste and reduce your carbon footprint. You could also incorporate renewable energy sources, such as solar panels, to power the lamp, further reducing its environmental impact. By making these eco-conscious choices, you can enjoy the benefits of a mosquito-free environment while minimizing harm to the planet.

There’s something almost magical about a mosquito light—a beacon in the night that promises to shield us from the irksome buzz and bites of mosquitoes.

Within the first few moments of considering a mosquito light, the idea transforms from a mere concept into a beacon of hope against the nightly
The moment you switch on a mosquito light, you declare war on those pesky insects. But what if I told you that you could turbocharge
Imagine this scenario: as the hues of twilight blend into the evening sky, your mosquito light buzzes to life, standing guard against the night’s swarm

There’s something almost magical about a mosquito light—a beacon in the night that promises to shield us from the irksome buzz and bites of mosquitoes.
Within the first few moments of considering a mosquito light, the idea transforms from a mere concept into a beacon of hope against the nightly

The moment you switch on a mosquito light, you declare war on those pesky insects. But what if I told you that you could turbocharge
Imagine this scenario: as the hues of twilight blend into the evening sky, your mosquito light buzzes to life, standing guard against the night’s swarm